I know I claim that this is also a crafting blog, and I’m finally making good on that promise. This post goes into how I fixed a screw that broke off below the surface of the wood I was drilling into. This break happened during the final stretch of a trunk I was making, all that was left was installing the hardware. I was installing hinges with the test screws that came with it, and I must have made the pilot hole too small because the screw broke during the final few turns I made, even though I was screwing it in by hand.
 Why does the last 10% of a project take 90% of the time??
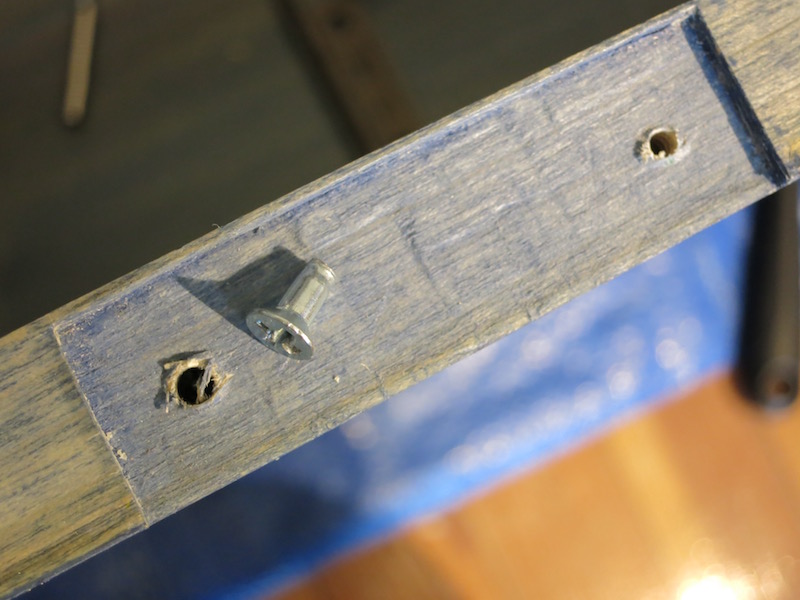
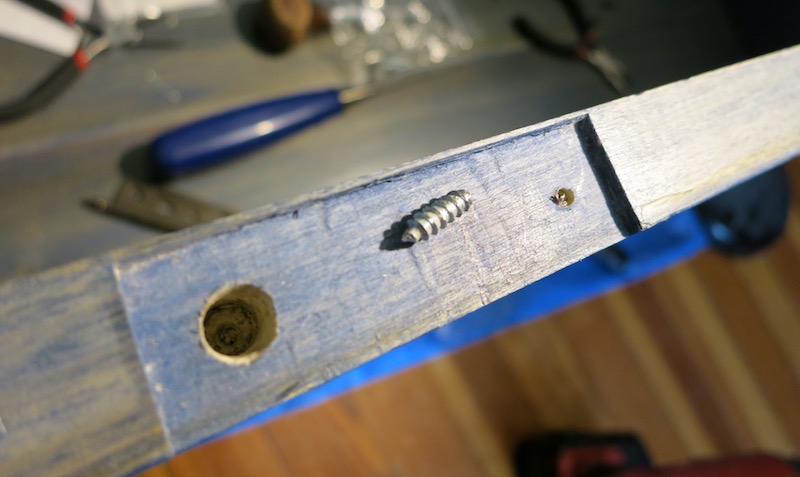
The broken screw shaft is buried in the hole on the left
When I initially googled around for a solution, I didn’t find a lot of options. It seemed like the most popular choice was to just move the screw hole over by a little bit and just try again. In hindsight, this isn’t a bad approach because it saves you the time and inevitable damage of digging around to get this screw out. However, I had already chiseled out a mortise (a shallow groove) for the hinge to be flush with the top of the trunk, so I couldn’t adjust when I installed it.
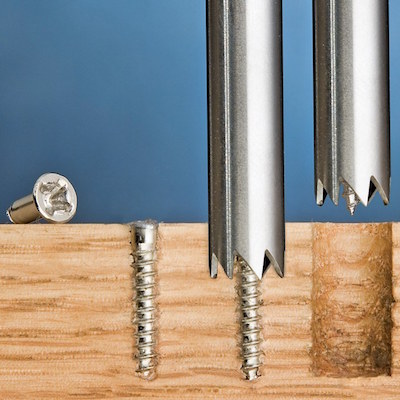
Instead I decided to go with the option of boring out the wood around the screw to be able to grab it with pliers and unscrew it. I used a screw extractor drill bit that allowed me to remove wood around the screw without drilling the screw itself. This nice illustration of it is from Rockler, and while I didn’t get my extractor from them, you can click the image to see what size extractor bits they have.
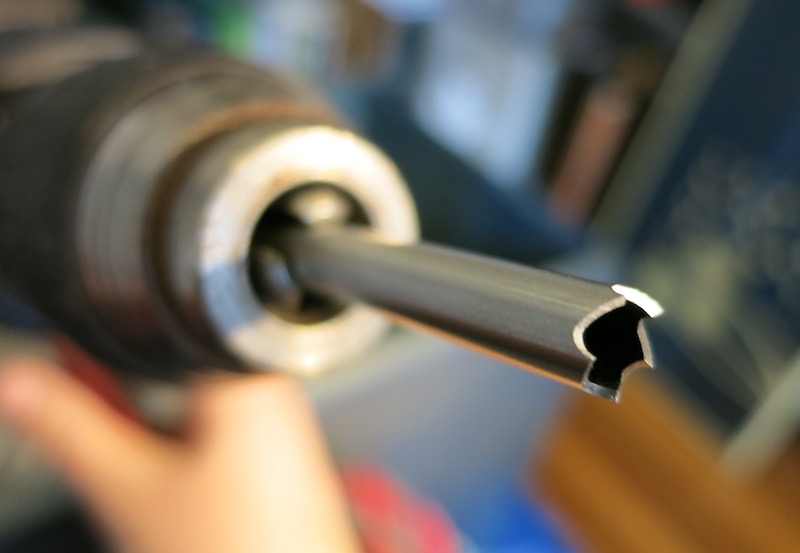
Below is an image of what I was using. From this angle you can see it is hollow.
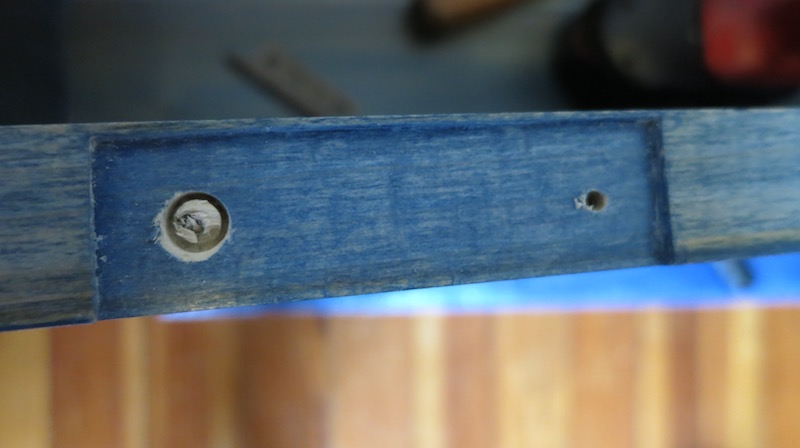
This is an image of the beginning of the boring process. You can see the wood starting to be removed from around the screw shaft. Drilling this took a long time and heated up the extractor quite a bit since it was so buried in the wood. Periodically I would try to chisel away some of the wood that was still clinging to the screw with a junky chisel. I wouldn’t use a chisel you care about for this because I ended up accidentally ramming it into the metal screw pretty often, and this will tear up the edge of the chisel. It was surprising how much the wood wanted to stay wrapped around that screw.
Finally, success. I can’t describe how satisfying it was to finally get this thing to pop out. I rotated and pulled it with a pair of pliers until it came loose.
The next step was to fill in the hole by gluing in a dowel that had the same thickness as the screw extractor.
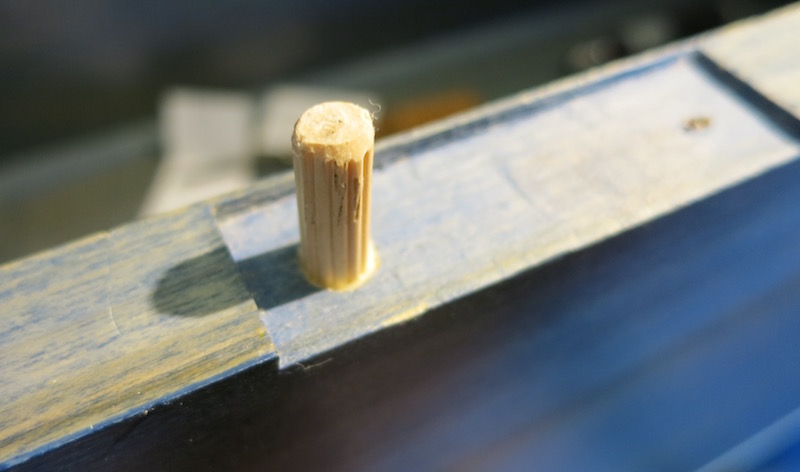
Once the glued dowel had set overnight to fully dry, I very carefully cut the rest of the dowel off with a dovetail saw. Any small handheld saw would probably be fine, but be careful not to scrape the crap out of the surfaces that will be visible.
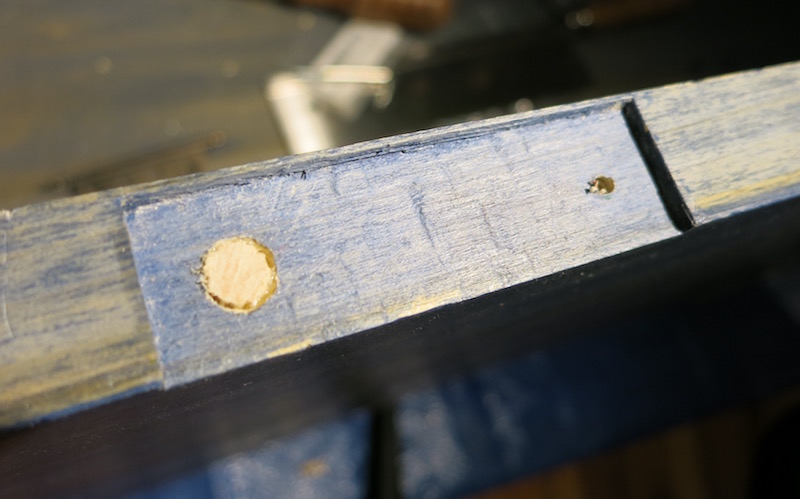
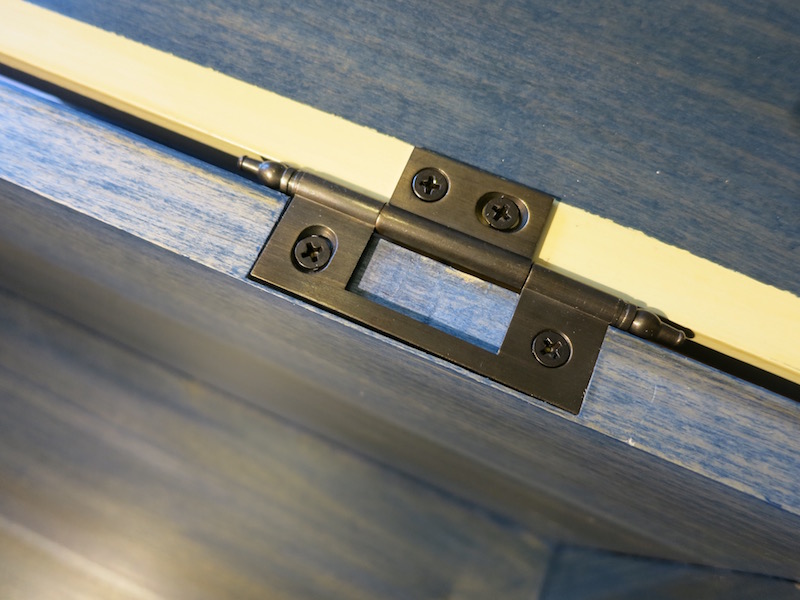
With the hinge in the mortise, you can barely tell there was ever an issue! In one, small respect I got lucky and had to remove the screw from the side of the hinge that had less wiggle room and so less wood visibility.
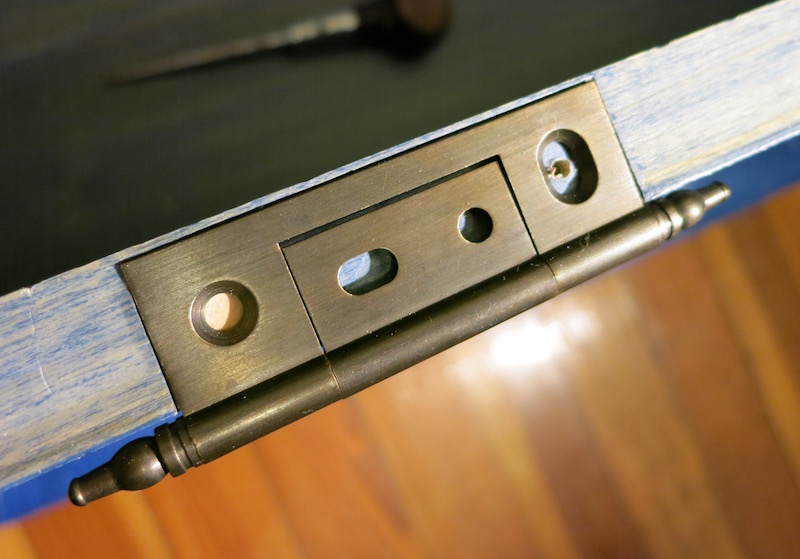
With the hinge fully screwed, none are the wiser.
I thought I would include a picture of the finished trunk to reward the intrepid readers that make it this far. This was actually my first furniture project that I built from a scratch following some plans.
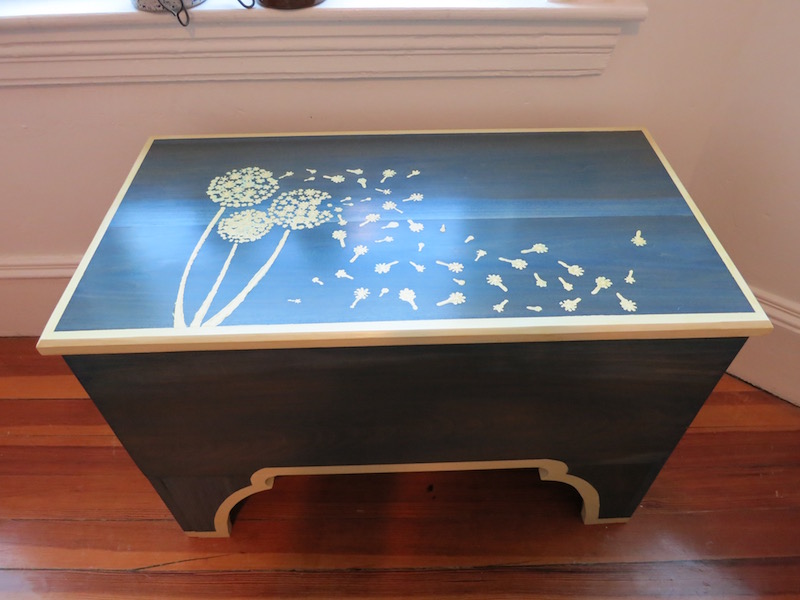
Some wood-savvy peeps may notice that there is some cross-grain conflict on the legs of the trunk. In other words, the grain of the body of the trunk doesn’t go in the same direction as the legs, so in the summer and winter these pieces of wood will expand and contract differently. This means the leg pieces might pop off one day or break somehow. It does have a wooden peg through the narrower part to attach it to the side of the trunk, so maybe that will help.
All this is to say, I knew the trunk had issues and was rough around the edges, so I had a lot of fun experimenting with the finish. It was probably going to fall apart, so why not get creative with it? I stained it navy blue (it was built with poplar) and then stenciled a design on top. I painted over it a few times, which gave it a cool textured effect. I’d like to explore that technique a little more, but that is the subject of another blog post :)
Well I hope this post has been helpful! If you ran into a similar broken screw problem, let me know what you ended up doing in the comments. This method works, but is slow and probably not best for large screws.